Thursday 12 December 2013

Update Blog - Avengers

I realise that I haven't posted anything in a while. That's mainly because I haven't really finished anything big. I have been very busy with university these past months, being in my final year, so that has piled on the pressure a bit. I'll also admit that I have just not been working as much as i could have, so that is something that I want to fix. Anyway, I decided to give you an update on all of the projects that I have on at the moment and their status. Here goes:

First off -  Mjolnir.

Ages ago I started to make Thor's hammer from Avengers Assemble. I started off with an idea of how to do it which at the time I thought was easy enough to do. I was wrong and it turned out badly. I kept trying to fix it but it just wasn't happening so I decided to start a new one. 


These just show you the progress that I am making on the hammer. I will go into more detail with a full write up when it is finished, but it basically is a MDF net of the hammer. I first drew a basic 3d model of the hammer and the faces dimensions were measured from that. The faces were cut out from MDF sheet and the angles were cut into the edges. They were taped and glued into place. 

What is left to do is the handle, where I'm going to put a leather wrap on it with the design cut into it. Still finalising the drawings for the design. Also there is the nuts for the handle to be put into the middle piece before I can glue that all together. The only things I need to make then are the top plate, the pommel and teh connecting piece between the handle and head. Then it needs to be sanded down, sealed and painted. Not sure about the patterns on the edges and how I'm going to add them in but that may be done after it finished as a sort of extra. 

I'm not to far away right now but there is still some things I have to work out so you can expect an update in the next few months.


BONUS: This is the original method I had which was a foam core net with a fibreglass coating which didn't turn out right as it was my first time using fibreglass and there were some stupid things that I did that I shouldn't have. It came out with loads of air pockets and was really weak. So there was just no saving it. I've moved on.

Next Item: My Iron Man chest RT.

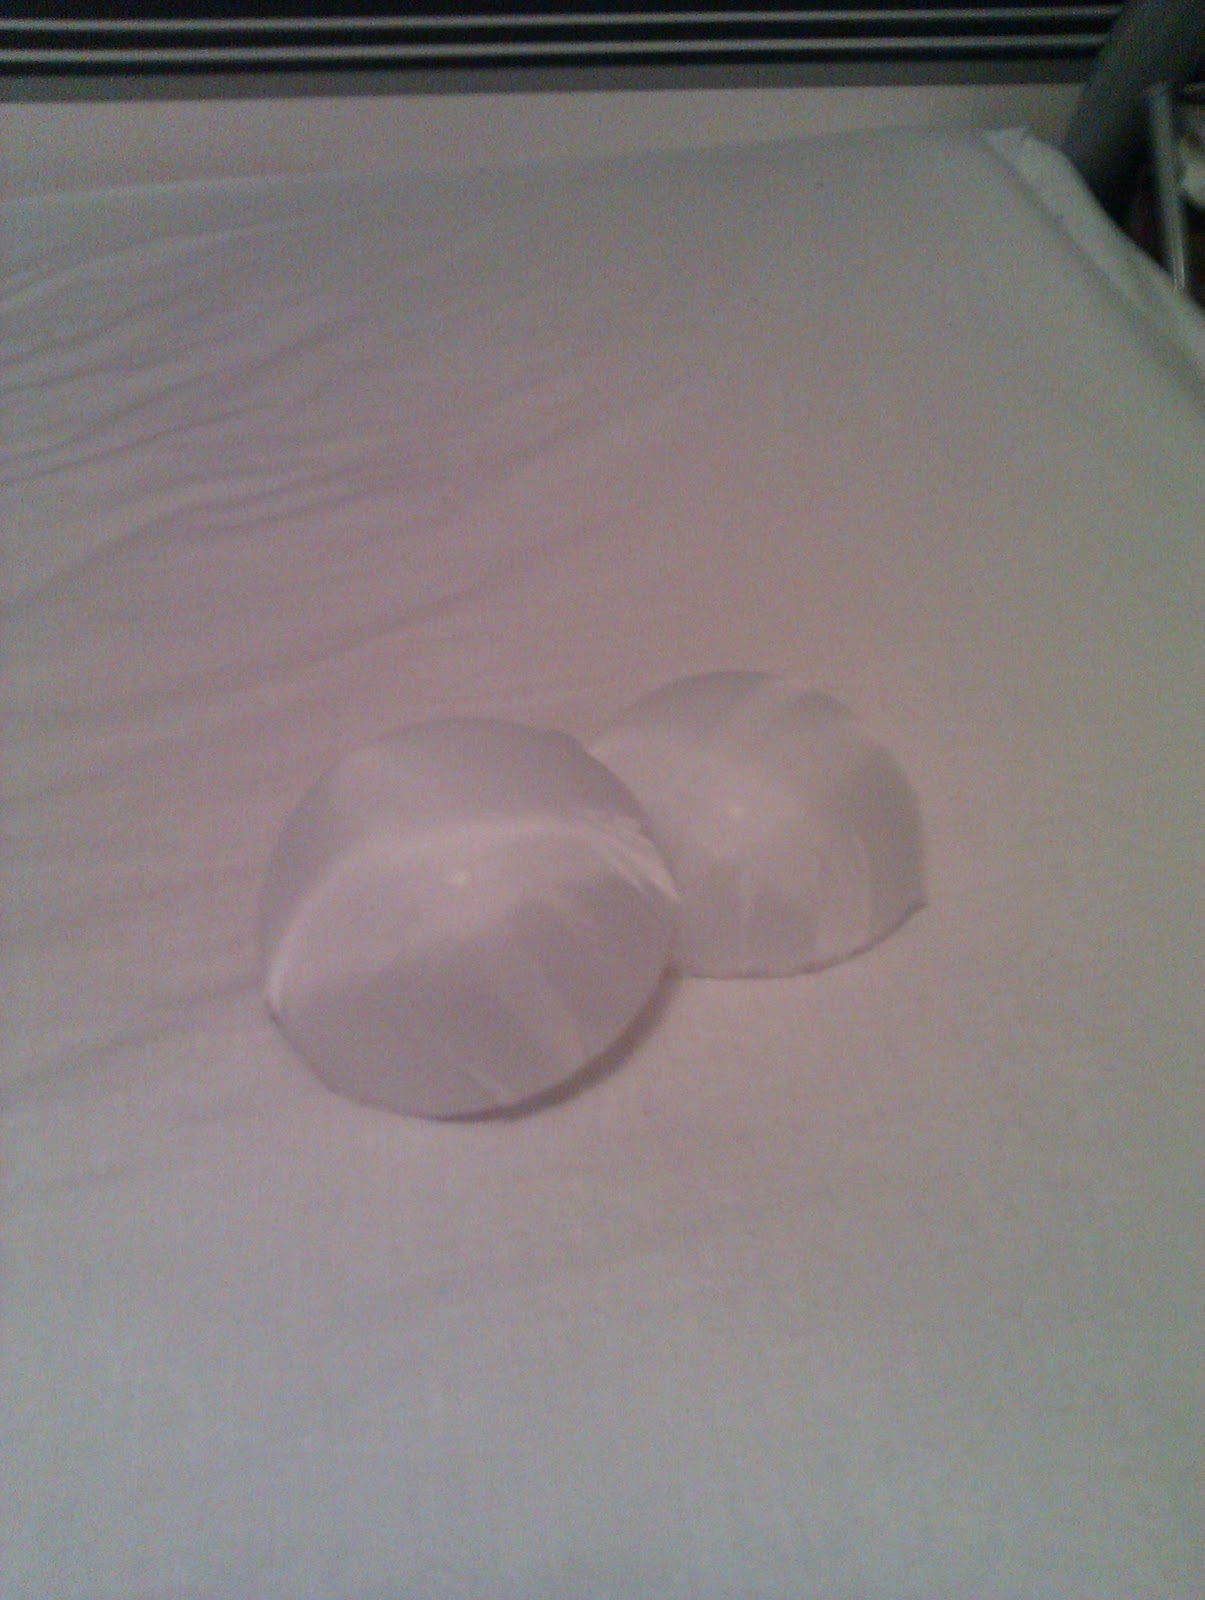
This was something I threw together in like a week mostly with things I had already.
I cut a piece of 68mm pipe to about 12 mm wide to house all of the lights. Two slots to fit the necklace was cut into the sides.


This is the front cover, which is just a 2mm piece of plastic that is cut to fit the inside of the pipe. It is probably best to cut it over size and sand it into shape. then you sand both faces to create a surface to diffuse the light.


The back plate is another thinner piece of plastic with aluminium foil glued on. This was hot glued into place with the excess being cut off with a knife.


I kind of skipped a few steps but the inside of the pipe was covered in aluminium foil to reflect the light. A small circuit was made for the LEDs which was connected to a battery with a headphone jack and connector to allow you to remove the battery. It runs off of a 9V battery in a battery box with switch which I just kept in my pocket so it can be switched on an off easily. As you can see in the picture above it comes out from the left and is hidden by another piece of cloth. 

So that is it done, as you can see it doesn't take very long so it is a very good side project. And it is very cheap, as I said it can be made mostly with things you already have, which is a bonus.

Teaser: Iron Man suit

Some of you may know that I have been creating a Iron man suit which will hopefully be fully functional (in terms of having electronics and moving parts, not the flying part). Those who have visited my Flickr page will already know this. But I have got a little further with it so I'm just updating how far I am.


This is an old picture I am much farther along but thats hard to show that cause the pieces are all over the place. Again there will be a full write up when the first part is completed (when i have a wearable piece). But the basic idea is to create the shape from foam using templates from a program called pepakura, then to coat it in plastic resin to strengthen it and make a smooth surface for the paint. I have started the plastic coating with only the front, back, head and thighs to complete. Most of the pieces still need sanding with only the shoulders having been painted to test the method. So there is still a bit of work to do but I think i'm about 85% through.

Anyway thats updates on a few of my projects, I have a few more that are just started but we'll save them for another update blog.


Tuesday 11 June 2013

Chainmail Iron man glove

For this project, I didn't really intend to make such a complicated build at the start. It started out with me just wanting a to make sheet of chainmail and sort of snowballed from there. I had done some research into making chainmail before I started and was originally going to make the rings as many others do but I found a bunch of spring washers which seemed to look the part. So I just started making a sheet of chainmail without a plan of what to do with it. Then I decided to make the glove:

Firstly, The sort of chainmail I am making is 4 in 1 chainmail which basically means each ring is connected to 4 other rings. I'm not going to be going into too much detail as to how to link the rings as there are many tutorials out there. This one Here is quite useful. Also you can make your own rings but the easier and inexpensive method is to get spring washers. The ones I used were M6 spring washers I got 3000 for around £30 which is plenty for this project. Now onto the glove.
I started by making a short and wide sheet to cover the palm and back of the hand. This was wrapped into a cylinder and secured the ends together with more rings.


The fingers were all made with a long and thin sheet of chainmail wrapped into a cylinder that could fit the fingers. At the tops of the fingers there was just a column of rings that goes over the fingertip and attaches to the opposite side of the cylinder and the other sections filled with rings to secure it in place. The photo above shows the columns of the chainmail running up and down the hand as I thought this would be the best option. The fingers were attached directly to the palm as a continuation of the columns around the base of the finger.


The other fingers were done in the same method as the index finger and attached to the palm. They were also attached to each other using some extra rings. This was quite tricky and each glove will be different so I won't really be able to explain it, as long as they attach securely without hindering movement it shouldn't need that much securing. The thumb piece was the hardest to attach as it required an angled piece to be added to the cylinder to make it attach. This will require a bit of planning beforehand to make sure everything fits together and as I mentioned above every hand is different so i won't be able to explain it well. With the planning it should come together eventually.


The wrist and forearm piece were attached to the hand piece in the same method as the fingers. I would advise making the wrist and forearm piece as a separate sheet from the hand instead of just attaching the new rows to the hand as it would be a lot easier to work with just the sheet. Just count out the number of columns you need for the sheet and make a sheet the same size


Here I attached a leather bracelet to the glove to hold it in place. It was attached to the glove using thread and stitching it into place. The thread was pushed through preexisting holes in the bracelet. If the thread is pulled tight to the rings there should be no problems it holding the glove securely.

It was only as an after thought that I decided to make it into a sort of chainmail iron man glove so here is how I tried to turn that into a reality. Here is a leather palm piece meant for holding the batteries and light for the palm repulsor (I know electronics not really fitting for this era but its gonna look awesome).


I used card to measure the profile of the leather piece and the angles at which the attach. (There needed to be a cut out for the thumb but that's not really visible) The holes were drilled into the leather and a strip of suede leather cord was threaded trough it. I didn't use knots to secure it as I just pushed the free end through the loop before it. I think it looks a lot better this way but it unlikely that you'll ever see it.


Here I made a light for the palm repulsor. I don't have many progress photos of it but this was made from a spare piece of PVC pipe, 46mm outside diameter, and three LEDs soldered into a ring with the LEDs pointing towards the side walls. These side walls of the PVC pipe were covered in aluminium foil to reflect some of the light and one end covered with a thin piece of plastic coated with some aluminium foil glued into place. I used epoxy for most of the glue in the rest of this project because of its strength.  The same was done with the battery box to attach it to the back of the hand.the wires were held in place with small ribbons of leather that were cut through the strap and stitched together on the other side to create a loop. The switch was just glued to the side of the battery box.


After all of the lights were tested and glued into place on the back plastic the palm repulsor can be secured to the leather strap. I did this using epoxy glue and then drilling screws through the inside of the leather and into the plastic backplate. A spare piece of the leather cord used for the stitching was wrapped around the base of the palm repulsor to cover any glue or light leaks. A second, thicker piece of plastic cut to the inside diameter of the PVC and sanded down to disperse the light more evenly out. If the plastic cover is just the same size as the hole it should slot into place and hold without the need for glue which might ruin the look of it.


Now onto the back plate of the glove. This started out as a model made from card drawn by hand and taped together. They went through many different shapes before I settled on this one which looked pretty accurate to the Mark 6 armor. This was then cut out from 4mm plastic, which I found awhile ago and I believe is polycarbonate but I'm not sure. 


The edges on these pieces came out very rough so they were sanded smooth and then bent into shape with a heat gun and glued into place. The glue was sanded down smooth and the shape was refined even further with sand paper. This whole process took a lot of sanding, the plastic was also very tough to sand, so be warned.


This was then cut in half with a dremel and these edges were sanded smooth also.


To make the hinge, just a thin, flexible piece of plastic was used and glued securely into place.


Attaching it to the leather strap took a lot of work. I decided to go for small blocks with screws through them which were glued to the back plate to act as axles and receiving blocks with holes attached to the battery box to act as the corresponding mounting point on hand. These should be allowed hinged slightly to allow the hand to move with relative ease. 

This was then sanded down with a 180 grit sandpaper and primed with two coats. This was sanded smooth with a 1200 grit sandpaper and spray painted the iconic red colour.


Here it is finished. Hope you like it. Leave any comments/queries you have below. Thanks


Sunday 3 March 2013

Deadmau5 helmet


I am a big fan of Deadmau5 and after a weeks of research into ideas for my first project I decided that this helmet would be good for my first step into the world of Prop-making. It started out life a 30cm/12 inch mirror ball due to difficulty finding other spheres of the right size, turns out that this was a really good idea(some credit goes to my brother for this). Using the concept model made by deadmau5 himself the holes were marked and then cut using a Dremel.

Both the head hole and the mouth hole were cut using a diamond cutting wheel for the dremel which made light work of the glass panels.
 The ears were next, they were just cut from polystyrene foam insulation with threaded rods attached through the edge. The shape is roughly a circle with an piece cut out matching the curve of the head. I used a piece of the helmet that I cut off earlier to get this shape.
  The ears were then covered with black velvet fabric which was glued into place with a spray glue and sewed around the back edge of the ears to hide the seam.

Holes were drilled into the side and front of the helmet to fit the ears and the lights for the eyes. The threaded rods in the ears were just slotted through the holes and secured on the other side with wing nuts. What you cant see here and I don't have any progress images of is the hard hat used to secure this to your head all that was needed to do to to this was holes drilled in to the sides to match the ear holes and it is attached directly to some of the threaded rods in the ears. Also the mouth had a aluminium mesh with a sheer white fabric to cover it glued into place and allow the wearer to see out.


The eyes were just made of a 4" plastic bauble split in two and covered with a white fabric.
The eyes were secured into place by cutting a groove into the helmet and gluing them securely into this groove. A simple LED circuit added to make the eyes light up and this Deadmau5 helmet is finished.

Hope you found this helpful. Check out my Instructables Page on building the helmet which goes into a lot more details on materials and the process.

Saturday 2 March 2013

Intro about the blog!

Hi

As I am new to this blog, I am just going to start off by adding a bit about the work I have done so far and what I have got going on now. Firstly though, a bit about myself. My name is Ben Irwin and I live in Scotland. At the moment I am in university studying Mechanical Engineering. I am enjoying and have learned a lot about my recently discovered hobby, Prop-making, which is the main point of this blog. I will be adding detailed step-by-step instructions on past builds as well as updates on projects I have got on at the moment. Hope you find this helpful in your builds.